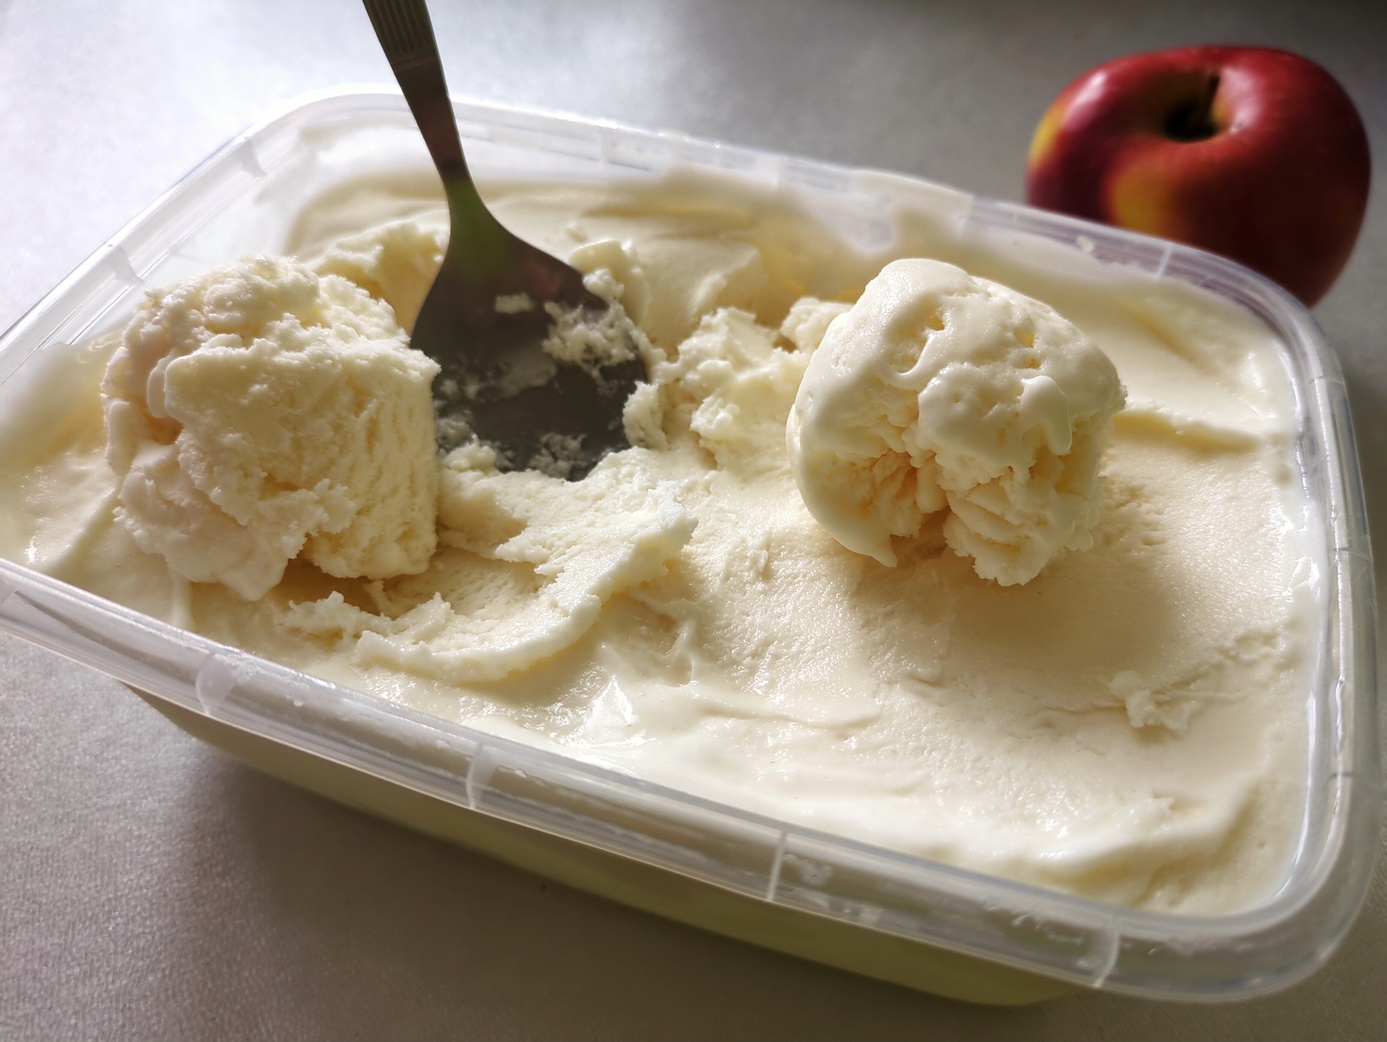
Classic Ice Cream
25.05.2026
Vegetarian / vegan* ice cream with sugar. A stabilizer recipe and an example of a classic vanilla ice cream sundae!
*For the vegan version, use plant-based cream (for example, coconut cream) and a plant-based milk alternative.
Also check out recipe for a low-calorie sugar-free pumpkin sherbet!
Macros and calories
Ingredients
**A dairy / vegan base for an ice cream is a mixture of UHT cream and UHT milk. To calculate the final fat percentage, use the formula:
fat (%) = [cream weight (g) * cream fat (%) + milk weight (g) * milk fat (%)] / [cream weight (g) + milk weight (g) + sugar weight (g)]
For this ice cream, I don't recommend reducing fat below 8% fat or increasing above 20%.
Example for a classic 12% vanilla ice cream:
UHT cream 33% fat: 220 g
UHT milk 3.5% fat: 380 g
(220 * 33 + 380 * 3.5) / (220 + 380 + 110) = ~12
Steps
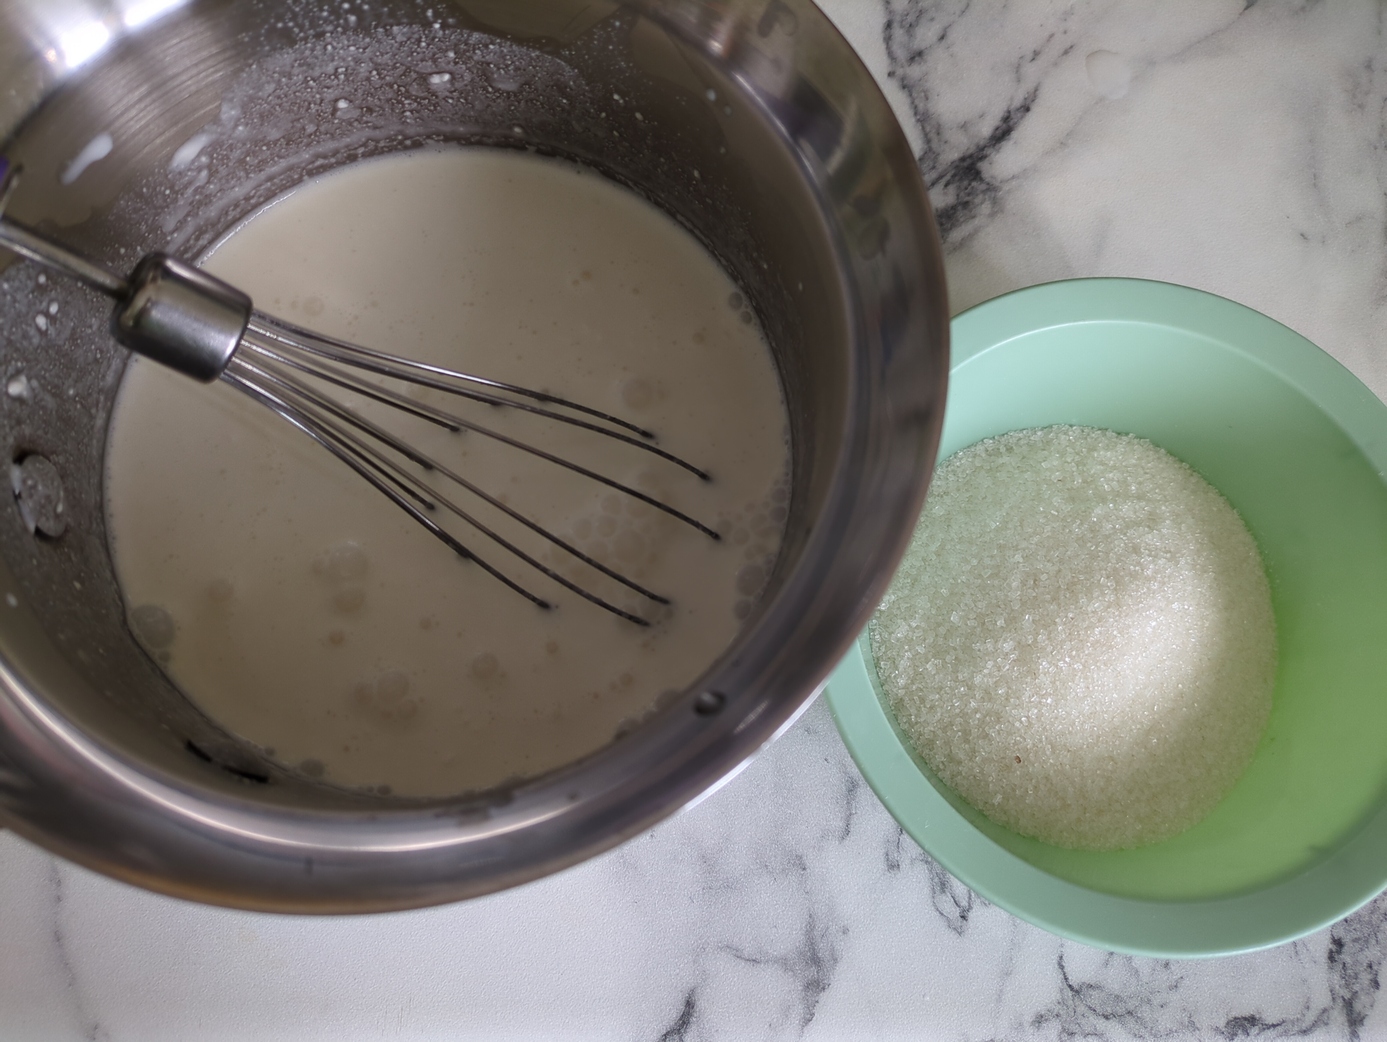
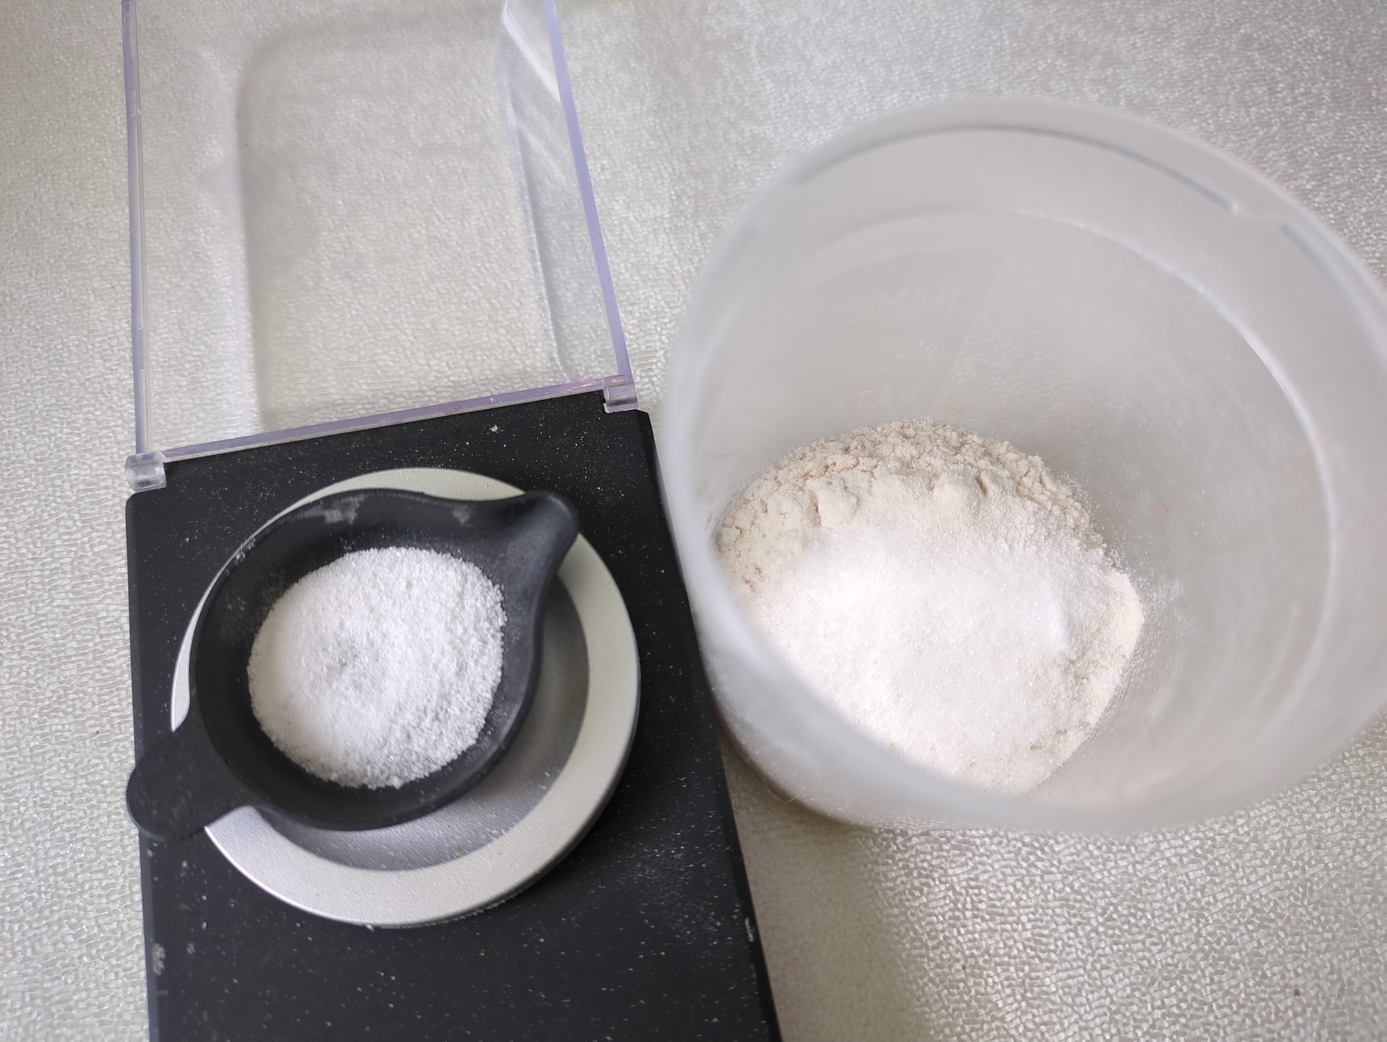
1. Measure ingredients
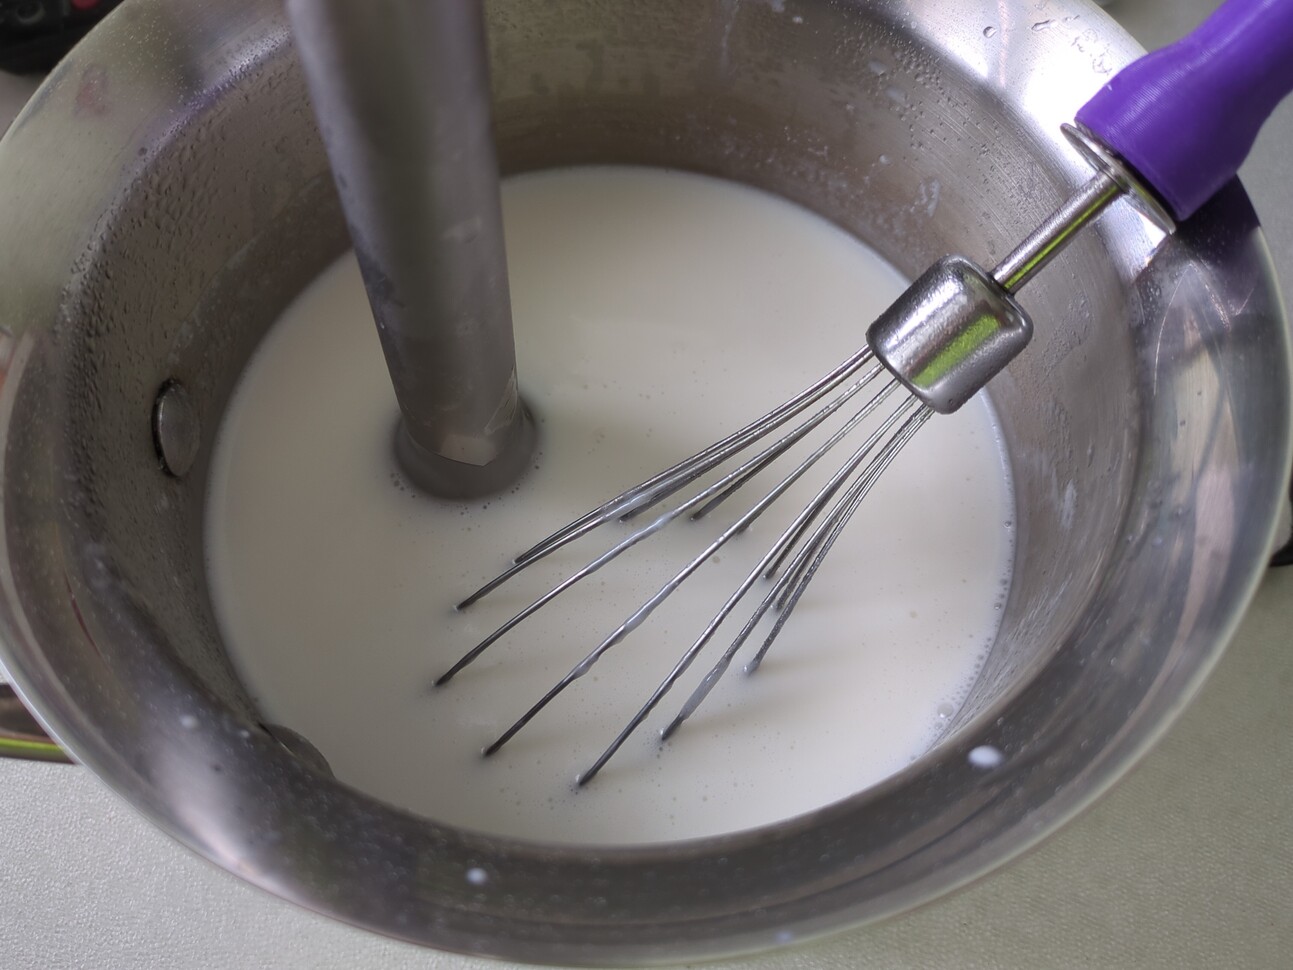
Pour the dairy base into a saucepan / pot with a thick bottom.
Measure the sugar.
Measure a small amount of sugar (~20 g) into a small container. Add all stabilizers and salt. Mix the stabilizer very thoroughly.
Measure vanillin separately.
2. Add sugar to the dairy base
3. Heat the base
While constantly stirring, heat the base with sugar to 50–60°C over medium-high heat.
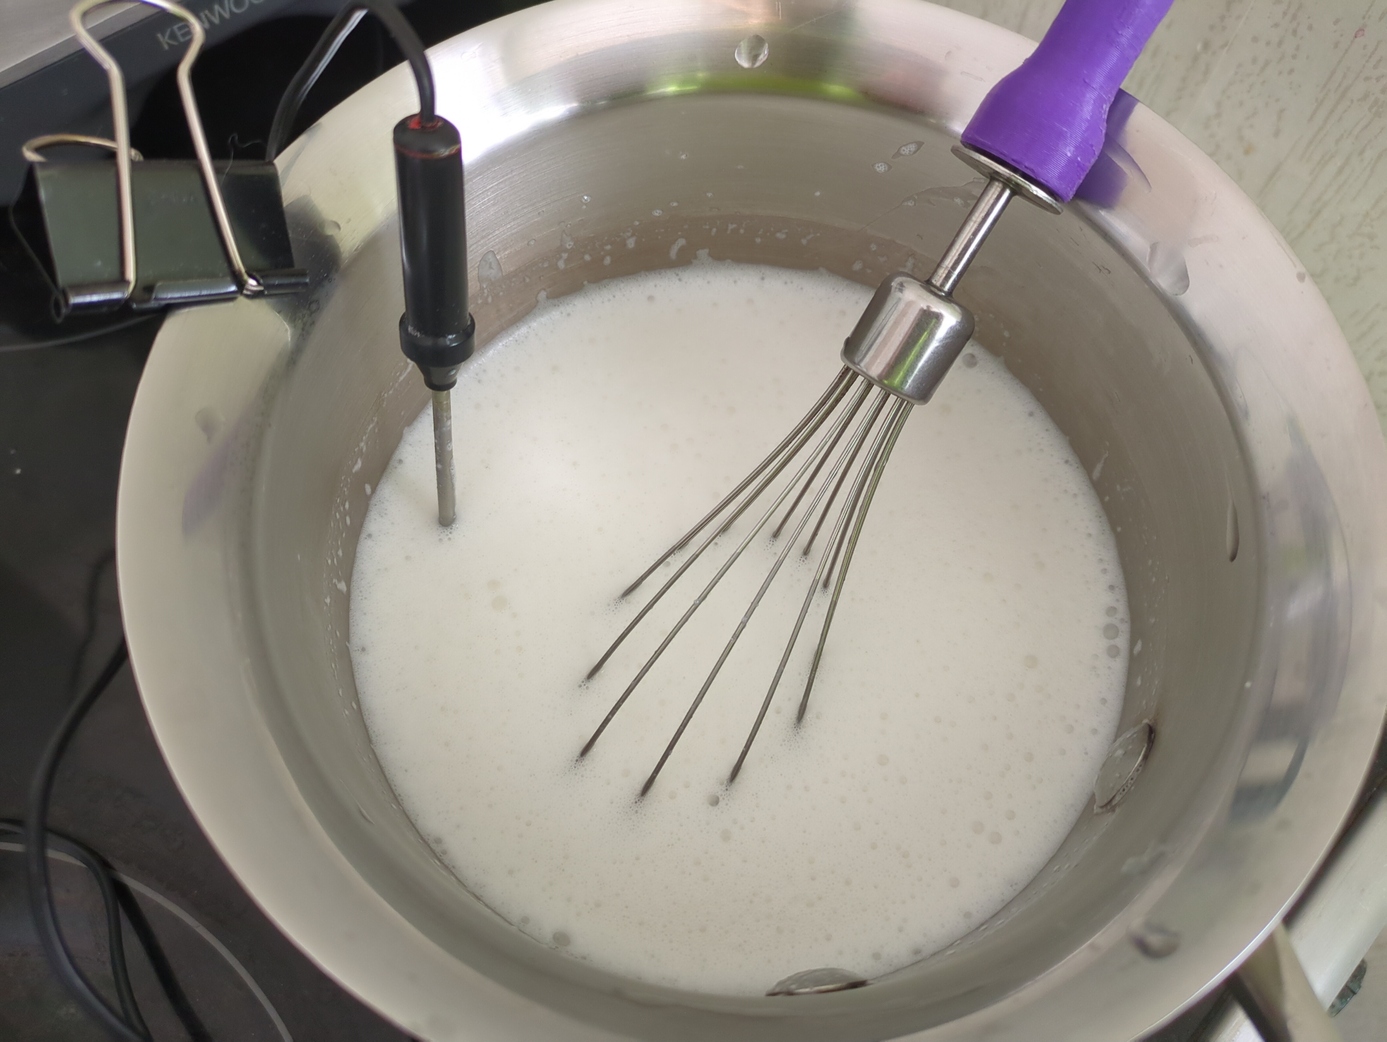
4. Add stabilizer
While stirring very quickly and thoroughly, slowly add stabilizer mixed with the remaining sugar.
5. Activate stabilizer
Continue stirring, bring the temperature up to 85°C, and maintain it for 2 minutes for full hydration of the gums and carrageenan.
6. Blend
Remove from heat and wait one minute while stirring. Then blend everything with a blender on a low speed for 1 minute.
This is needed for even distribution and "activation" of the stabilizer.
7. Cool to 70–75°C
Using a bowl of cold water and stirring the base, cool it to 70–75°C.

8. Add vanillin
While stirring, slowly add vanillin / flavorings if desired. Mix thoroughly.
9. Cool and refrigerate
Using a bowl of cold water, cool the mixture a bit more WITHOUT STIRRING. Overall, this is optional, but it will make things easier for the refrigerator.
Then refrigerate the ice cream mixture for 6–10 hours. This is very important "aging" stage.
Meanwhile, prepare ice cream machine and freezer (set it to the maximum power).
10. Place mixture into freezer for 10-15 minutes
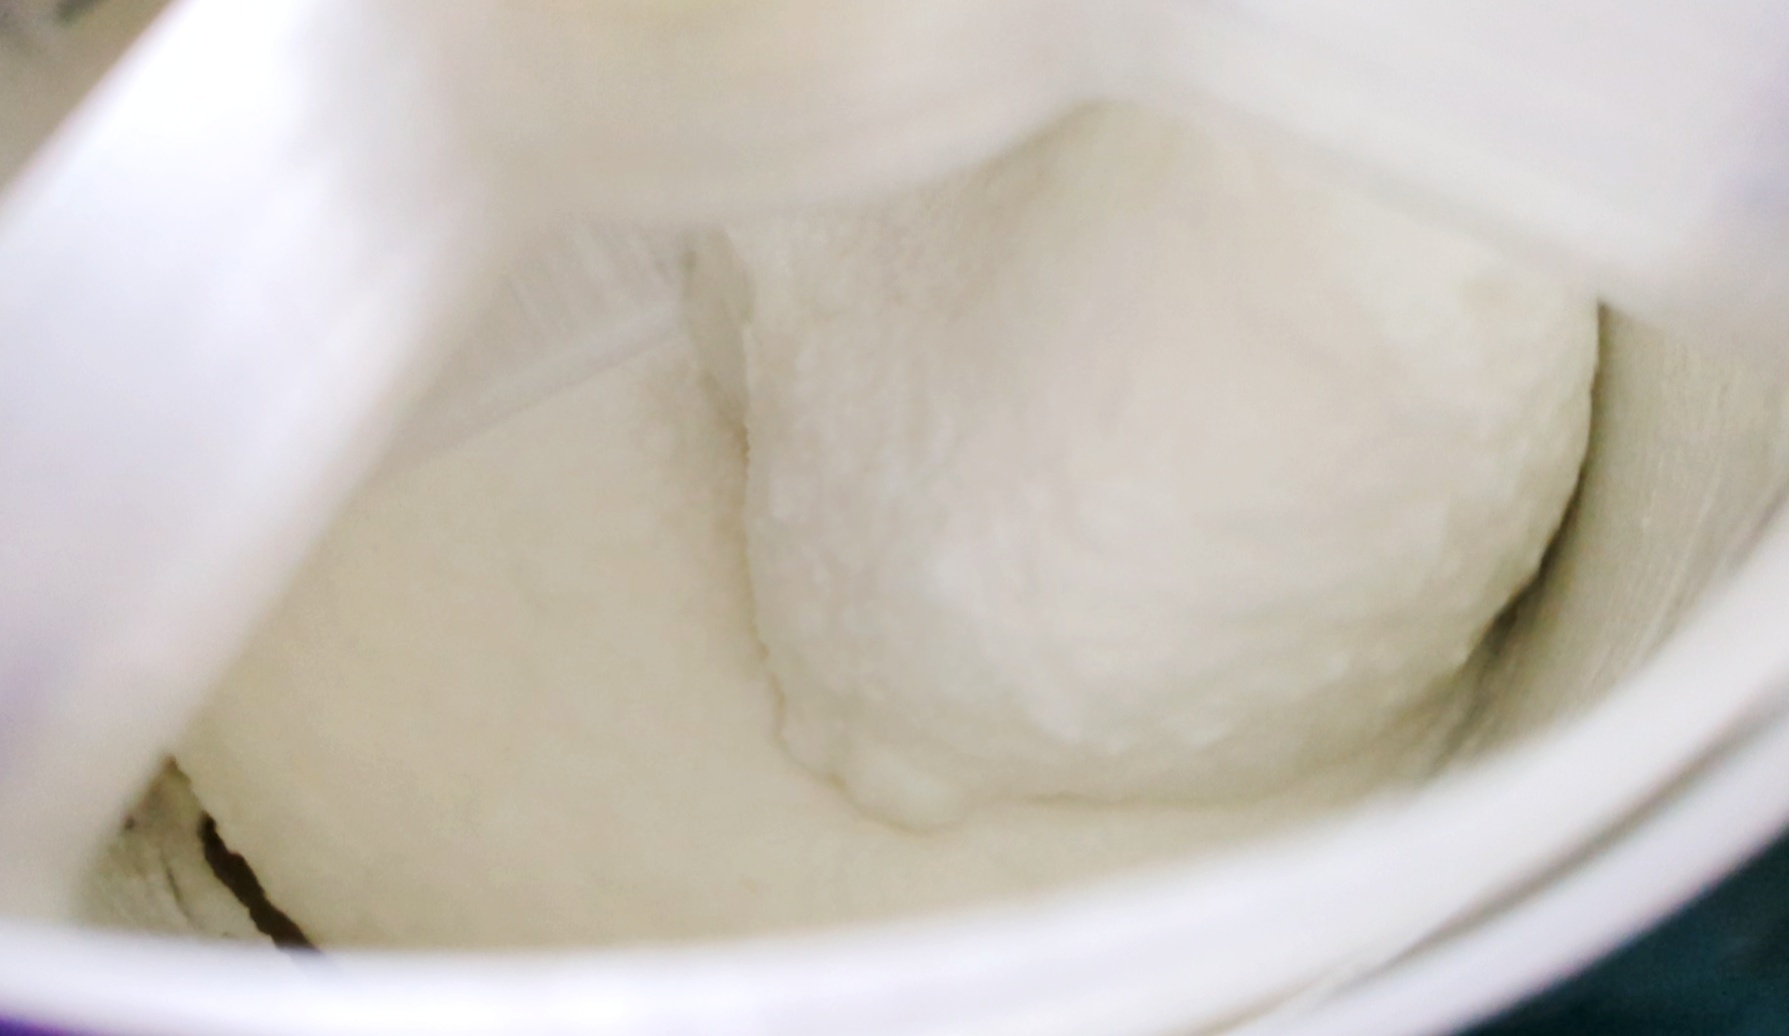
After refrigeration, mixture will looks like "flan". Now it needs even more cooling (to 2-4°C) so ice cream freezes faster and better.
11. Blend thoroughly
Blend resulting "jelly" on high speed for couple of minutes, trying to incorporate air into the mixture.
12. Pour into ice cream machine
Start ice cream machine and pour mixture into it for 10-20 minutes (or according to machine instructions).
I use DIY ice cream machine, which is basically an aluminum pot placed inside large bowl filled with ice. Inside pot is a "whisk" powered by stepper motor via gearbox.
13. Transfer to containers and place in the freezer
After churning, it is important to transfer the ice cream AS QUICK AS POSSIBLE and place it into the freezer at maximum power for 1-2 hours.
14. Return freezer to a normal mode
Ice cream is ready! You can return freezer to a normal mode, eat sherbet and store it!